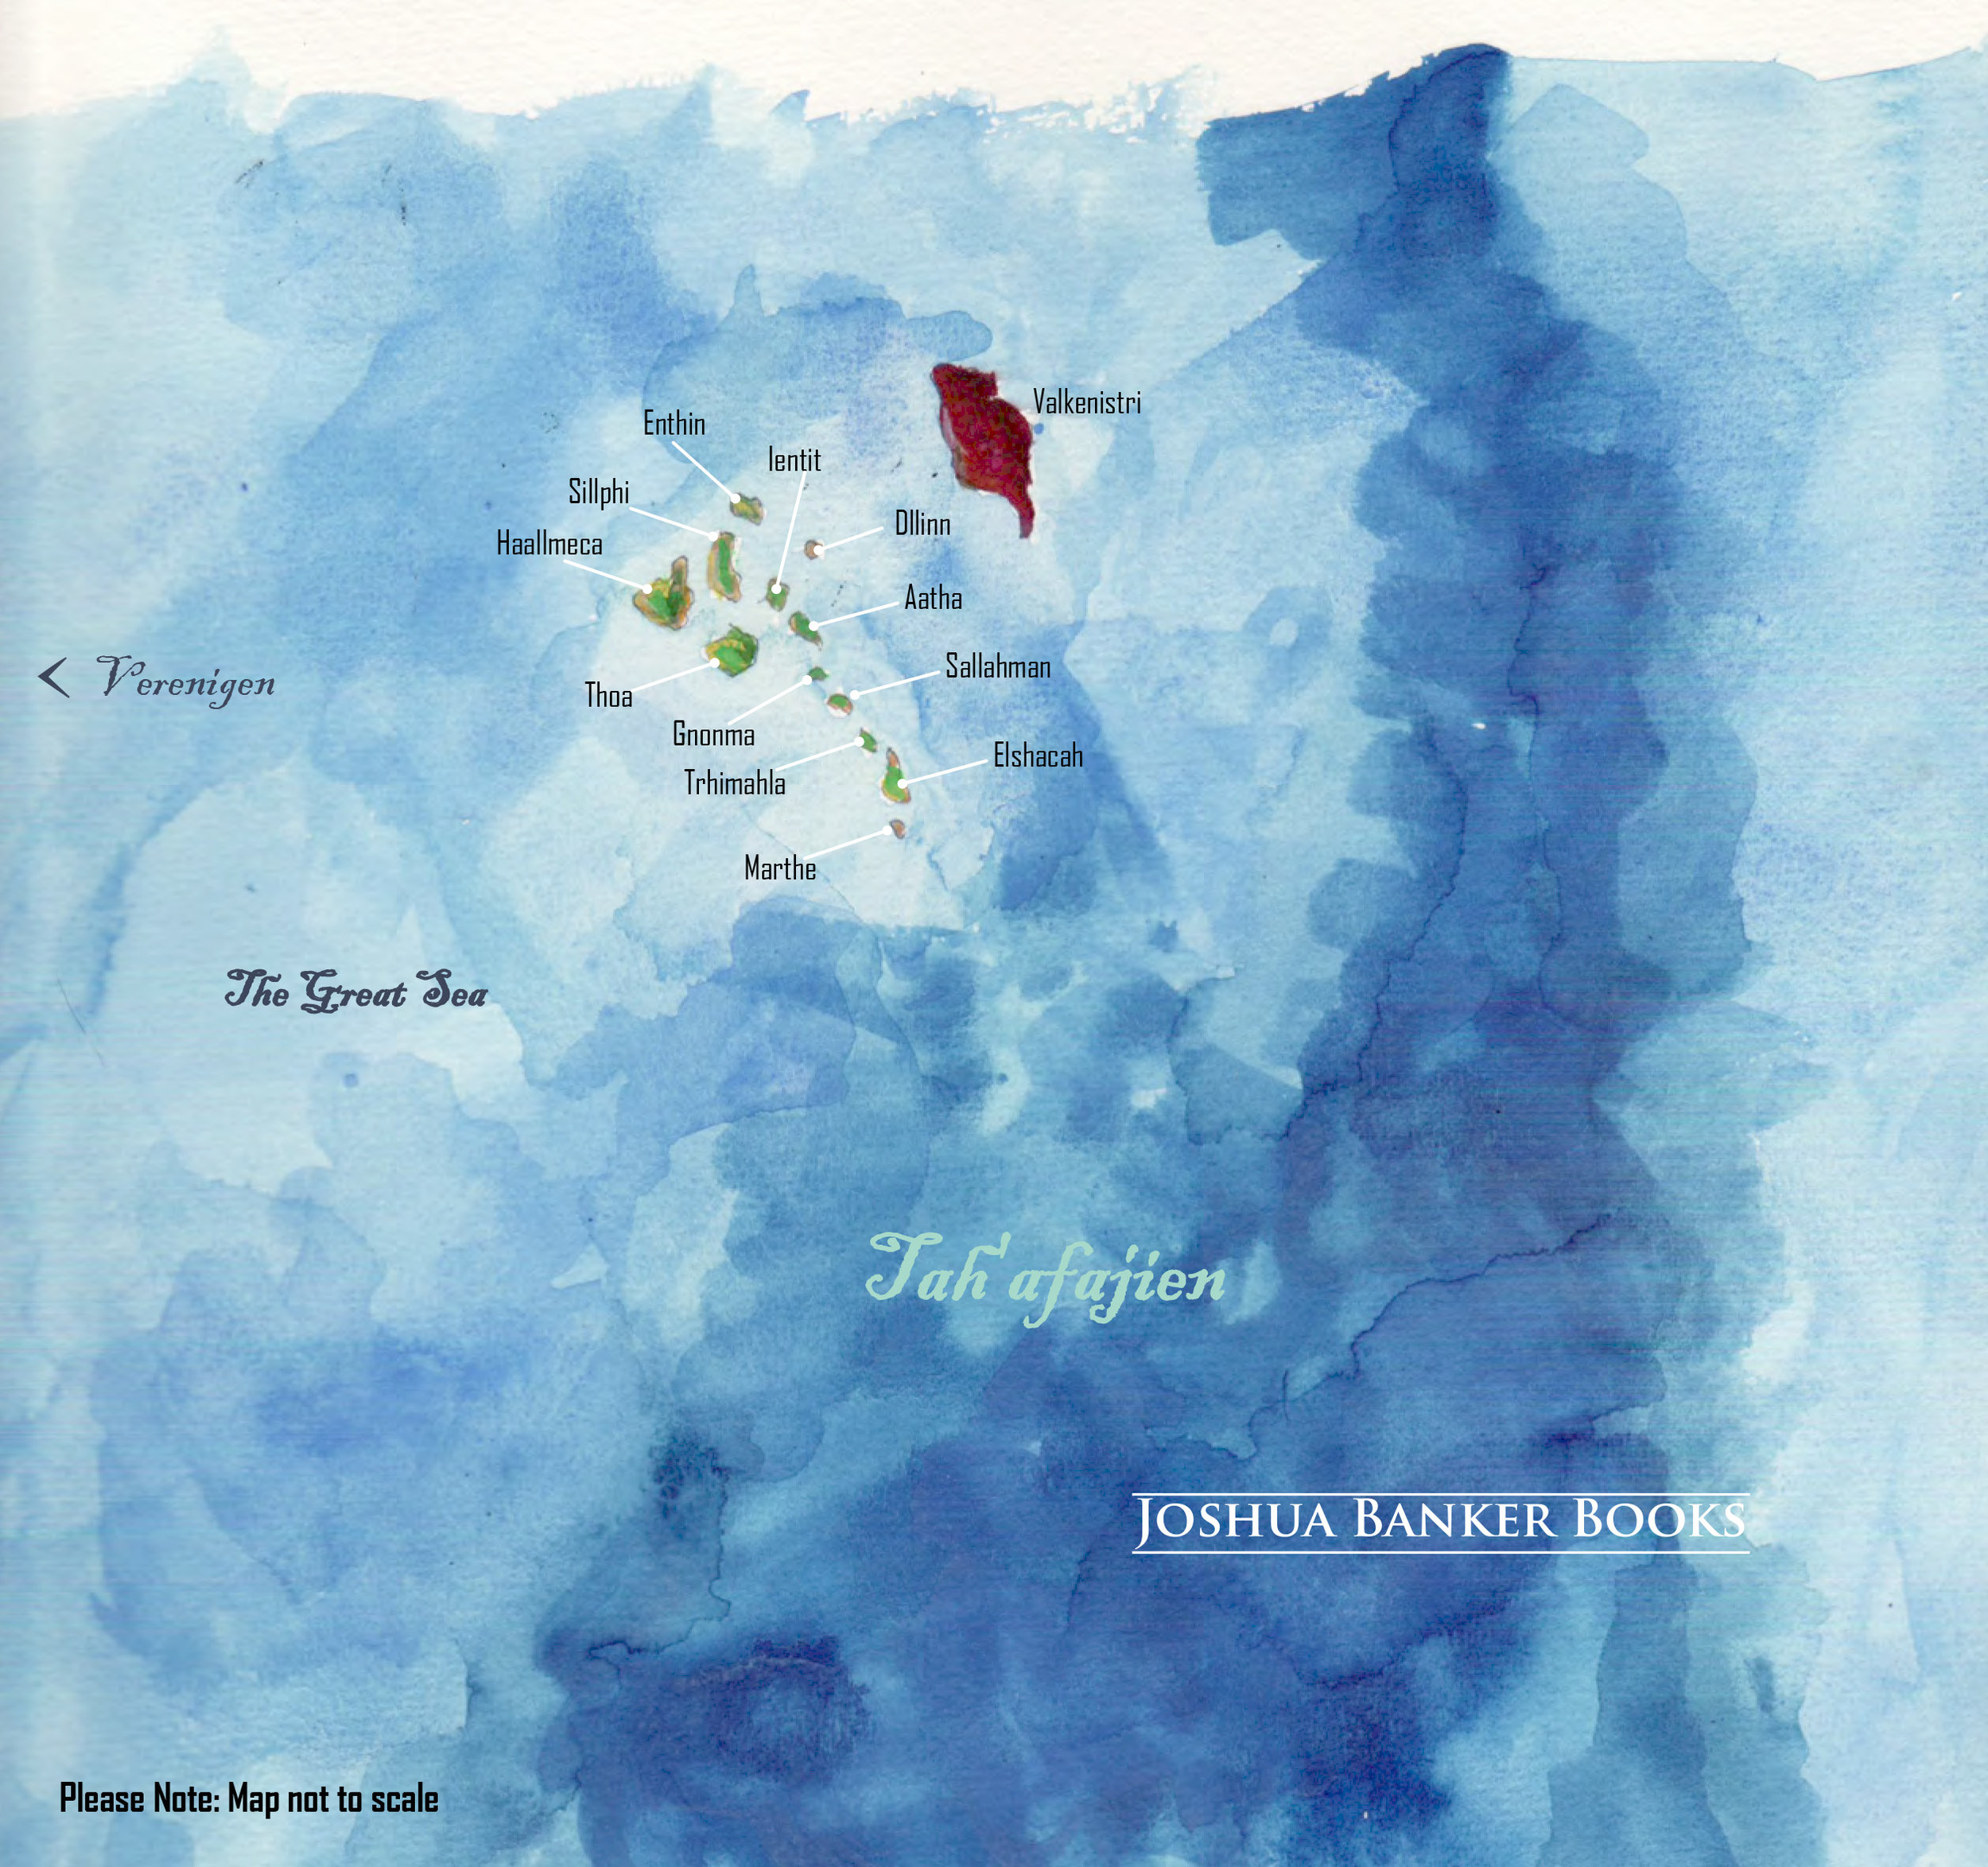
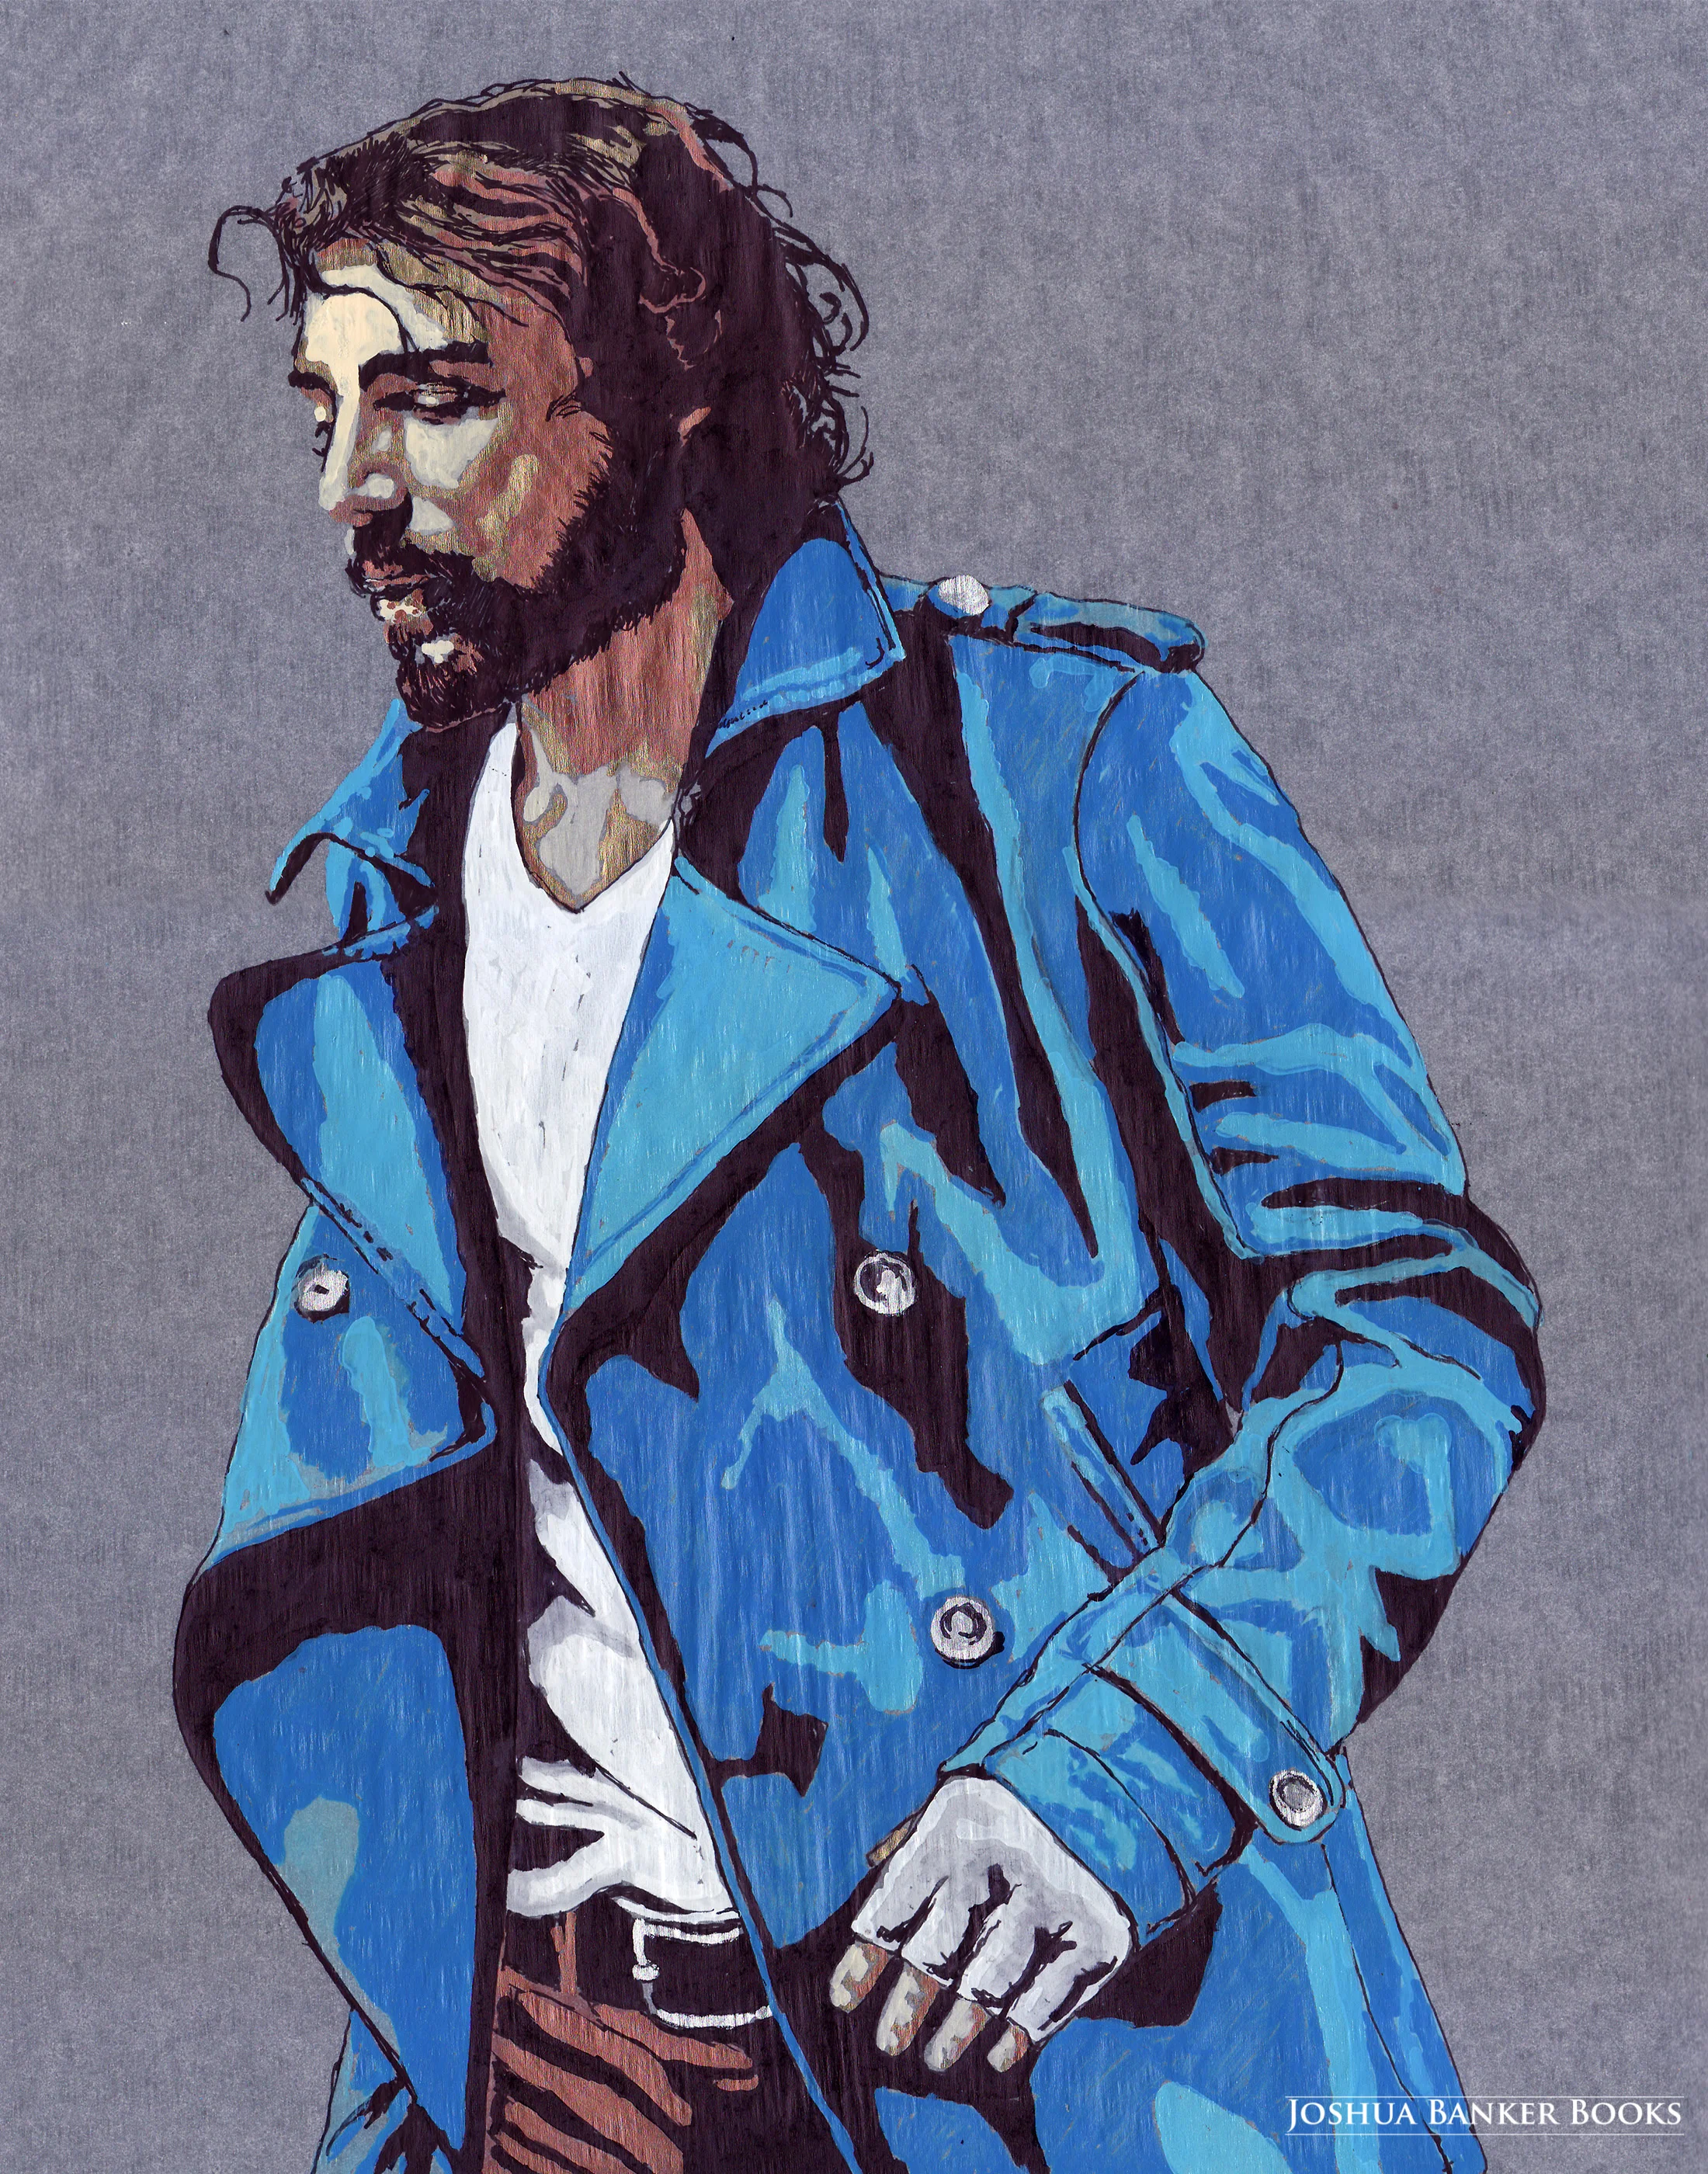
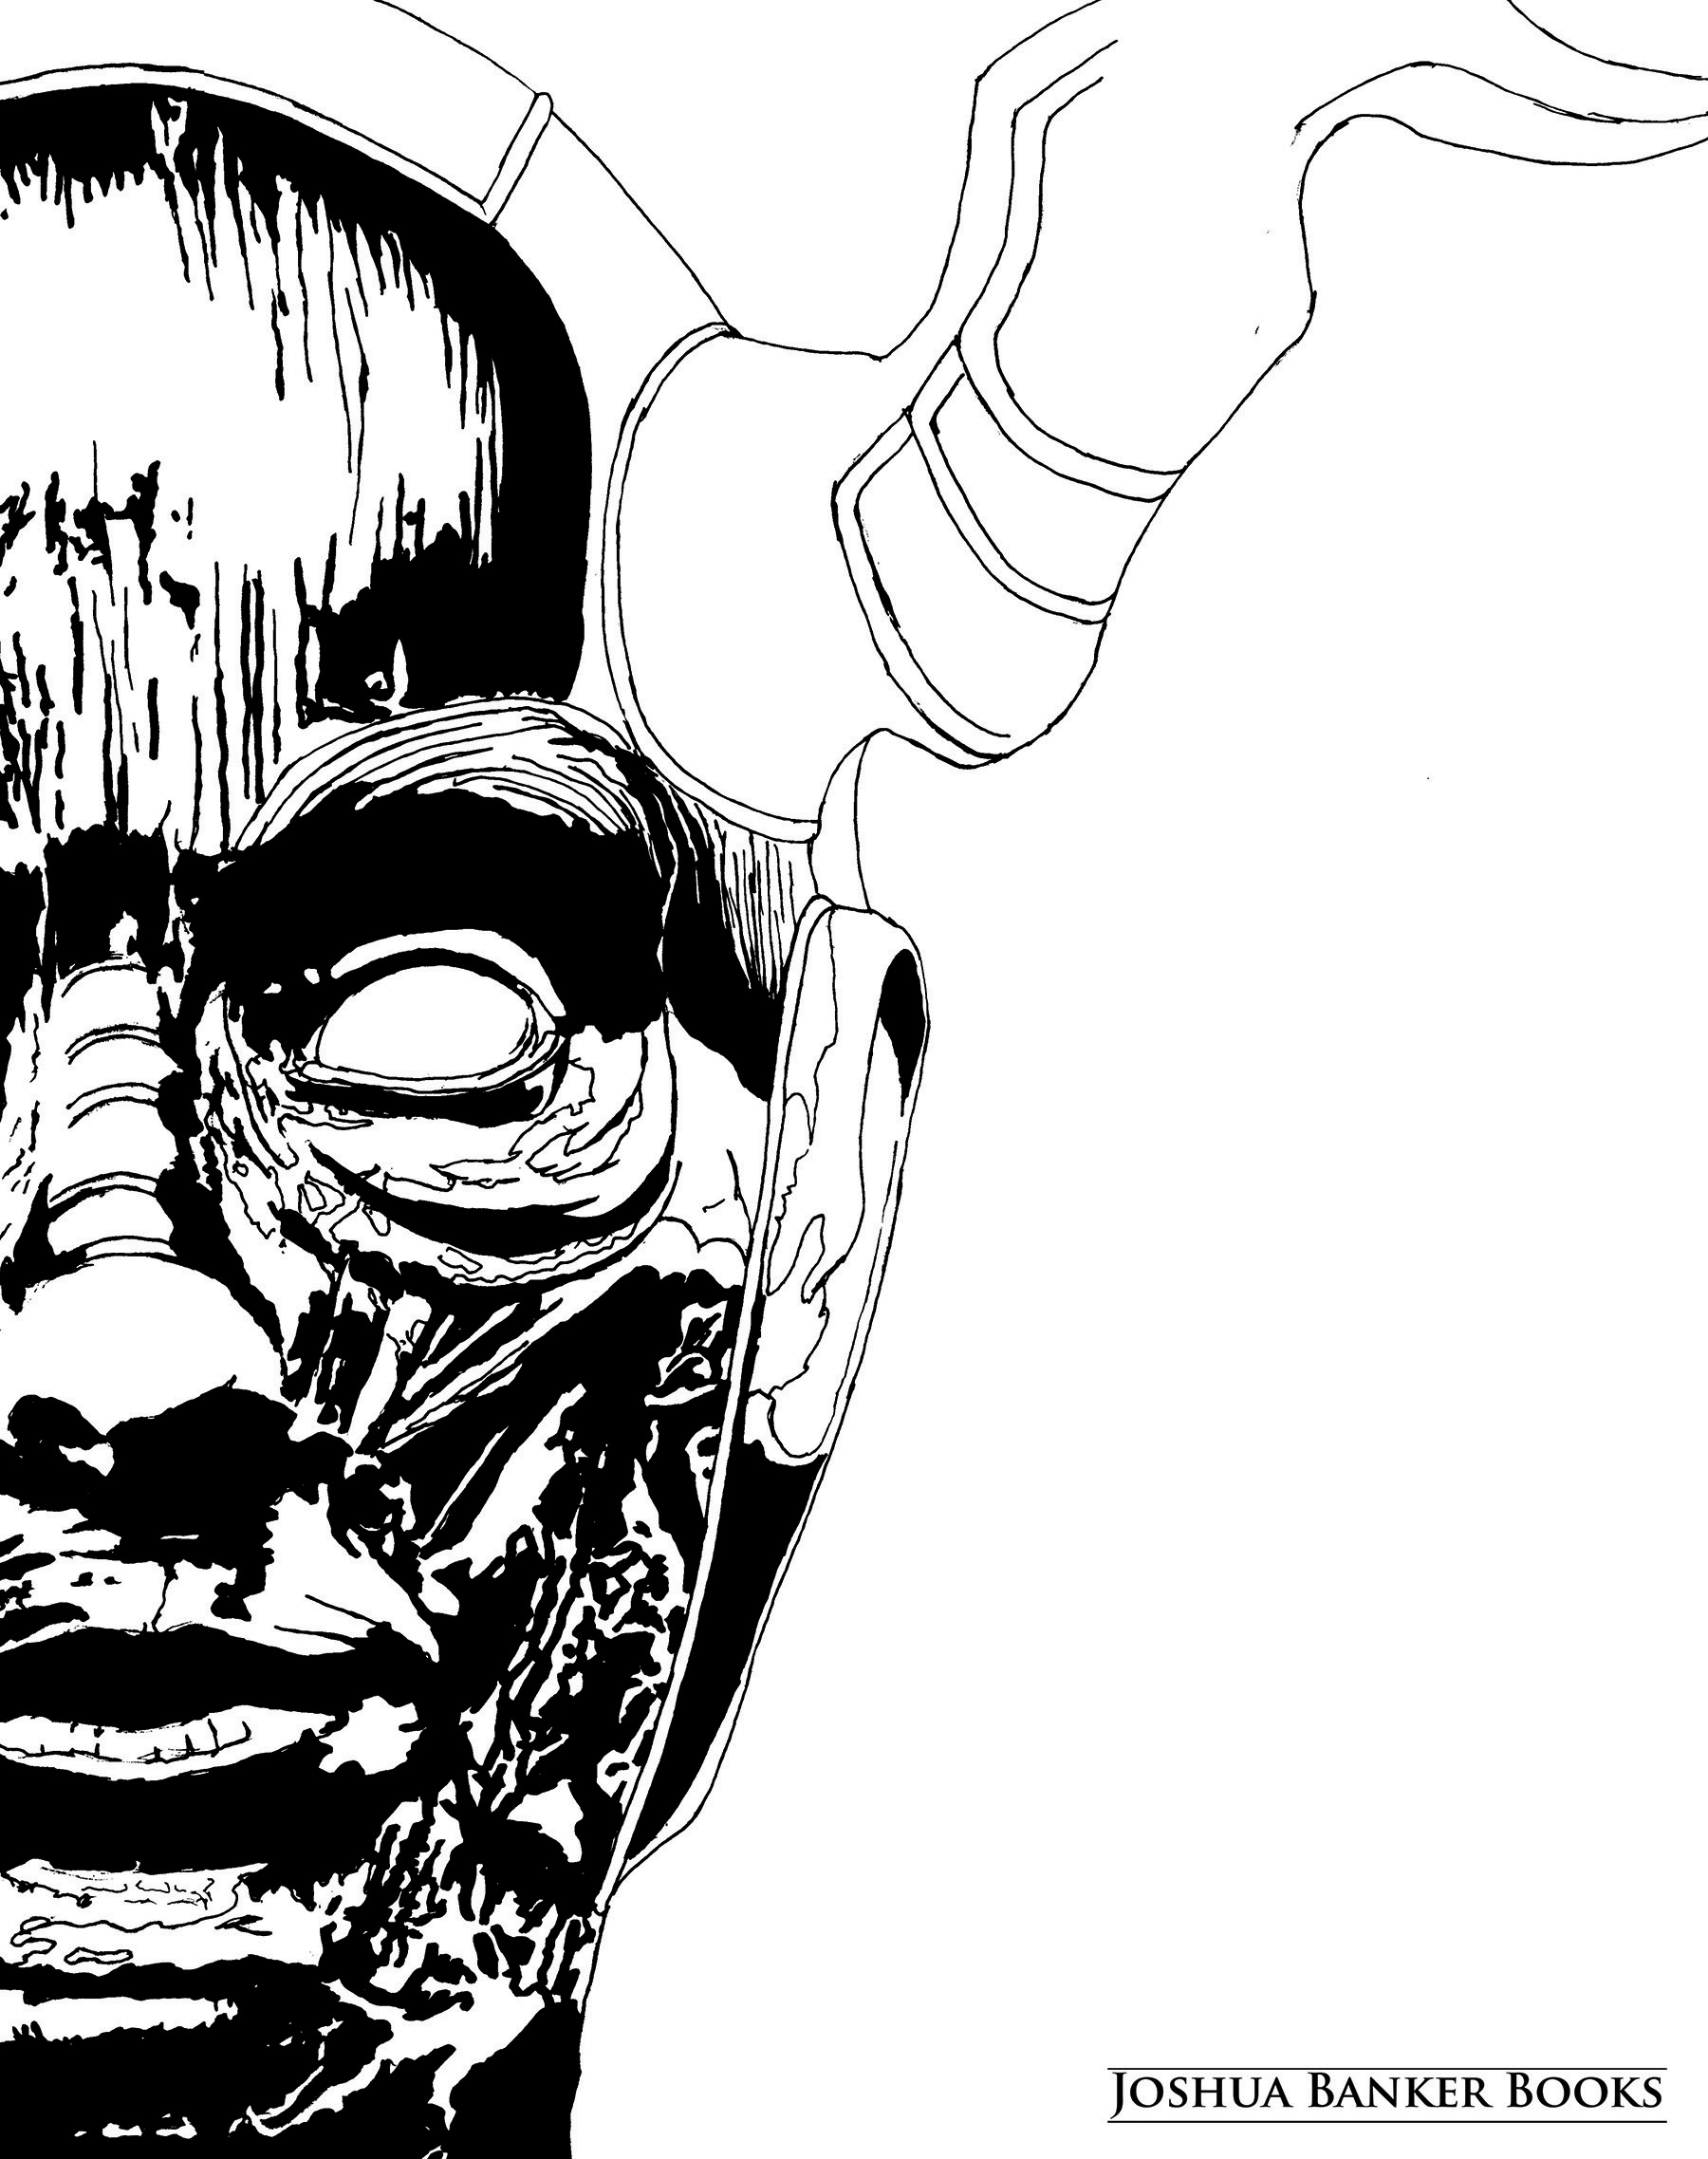
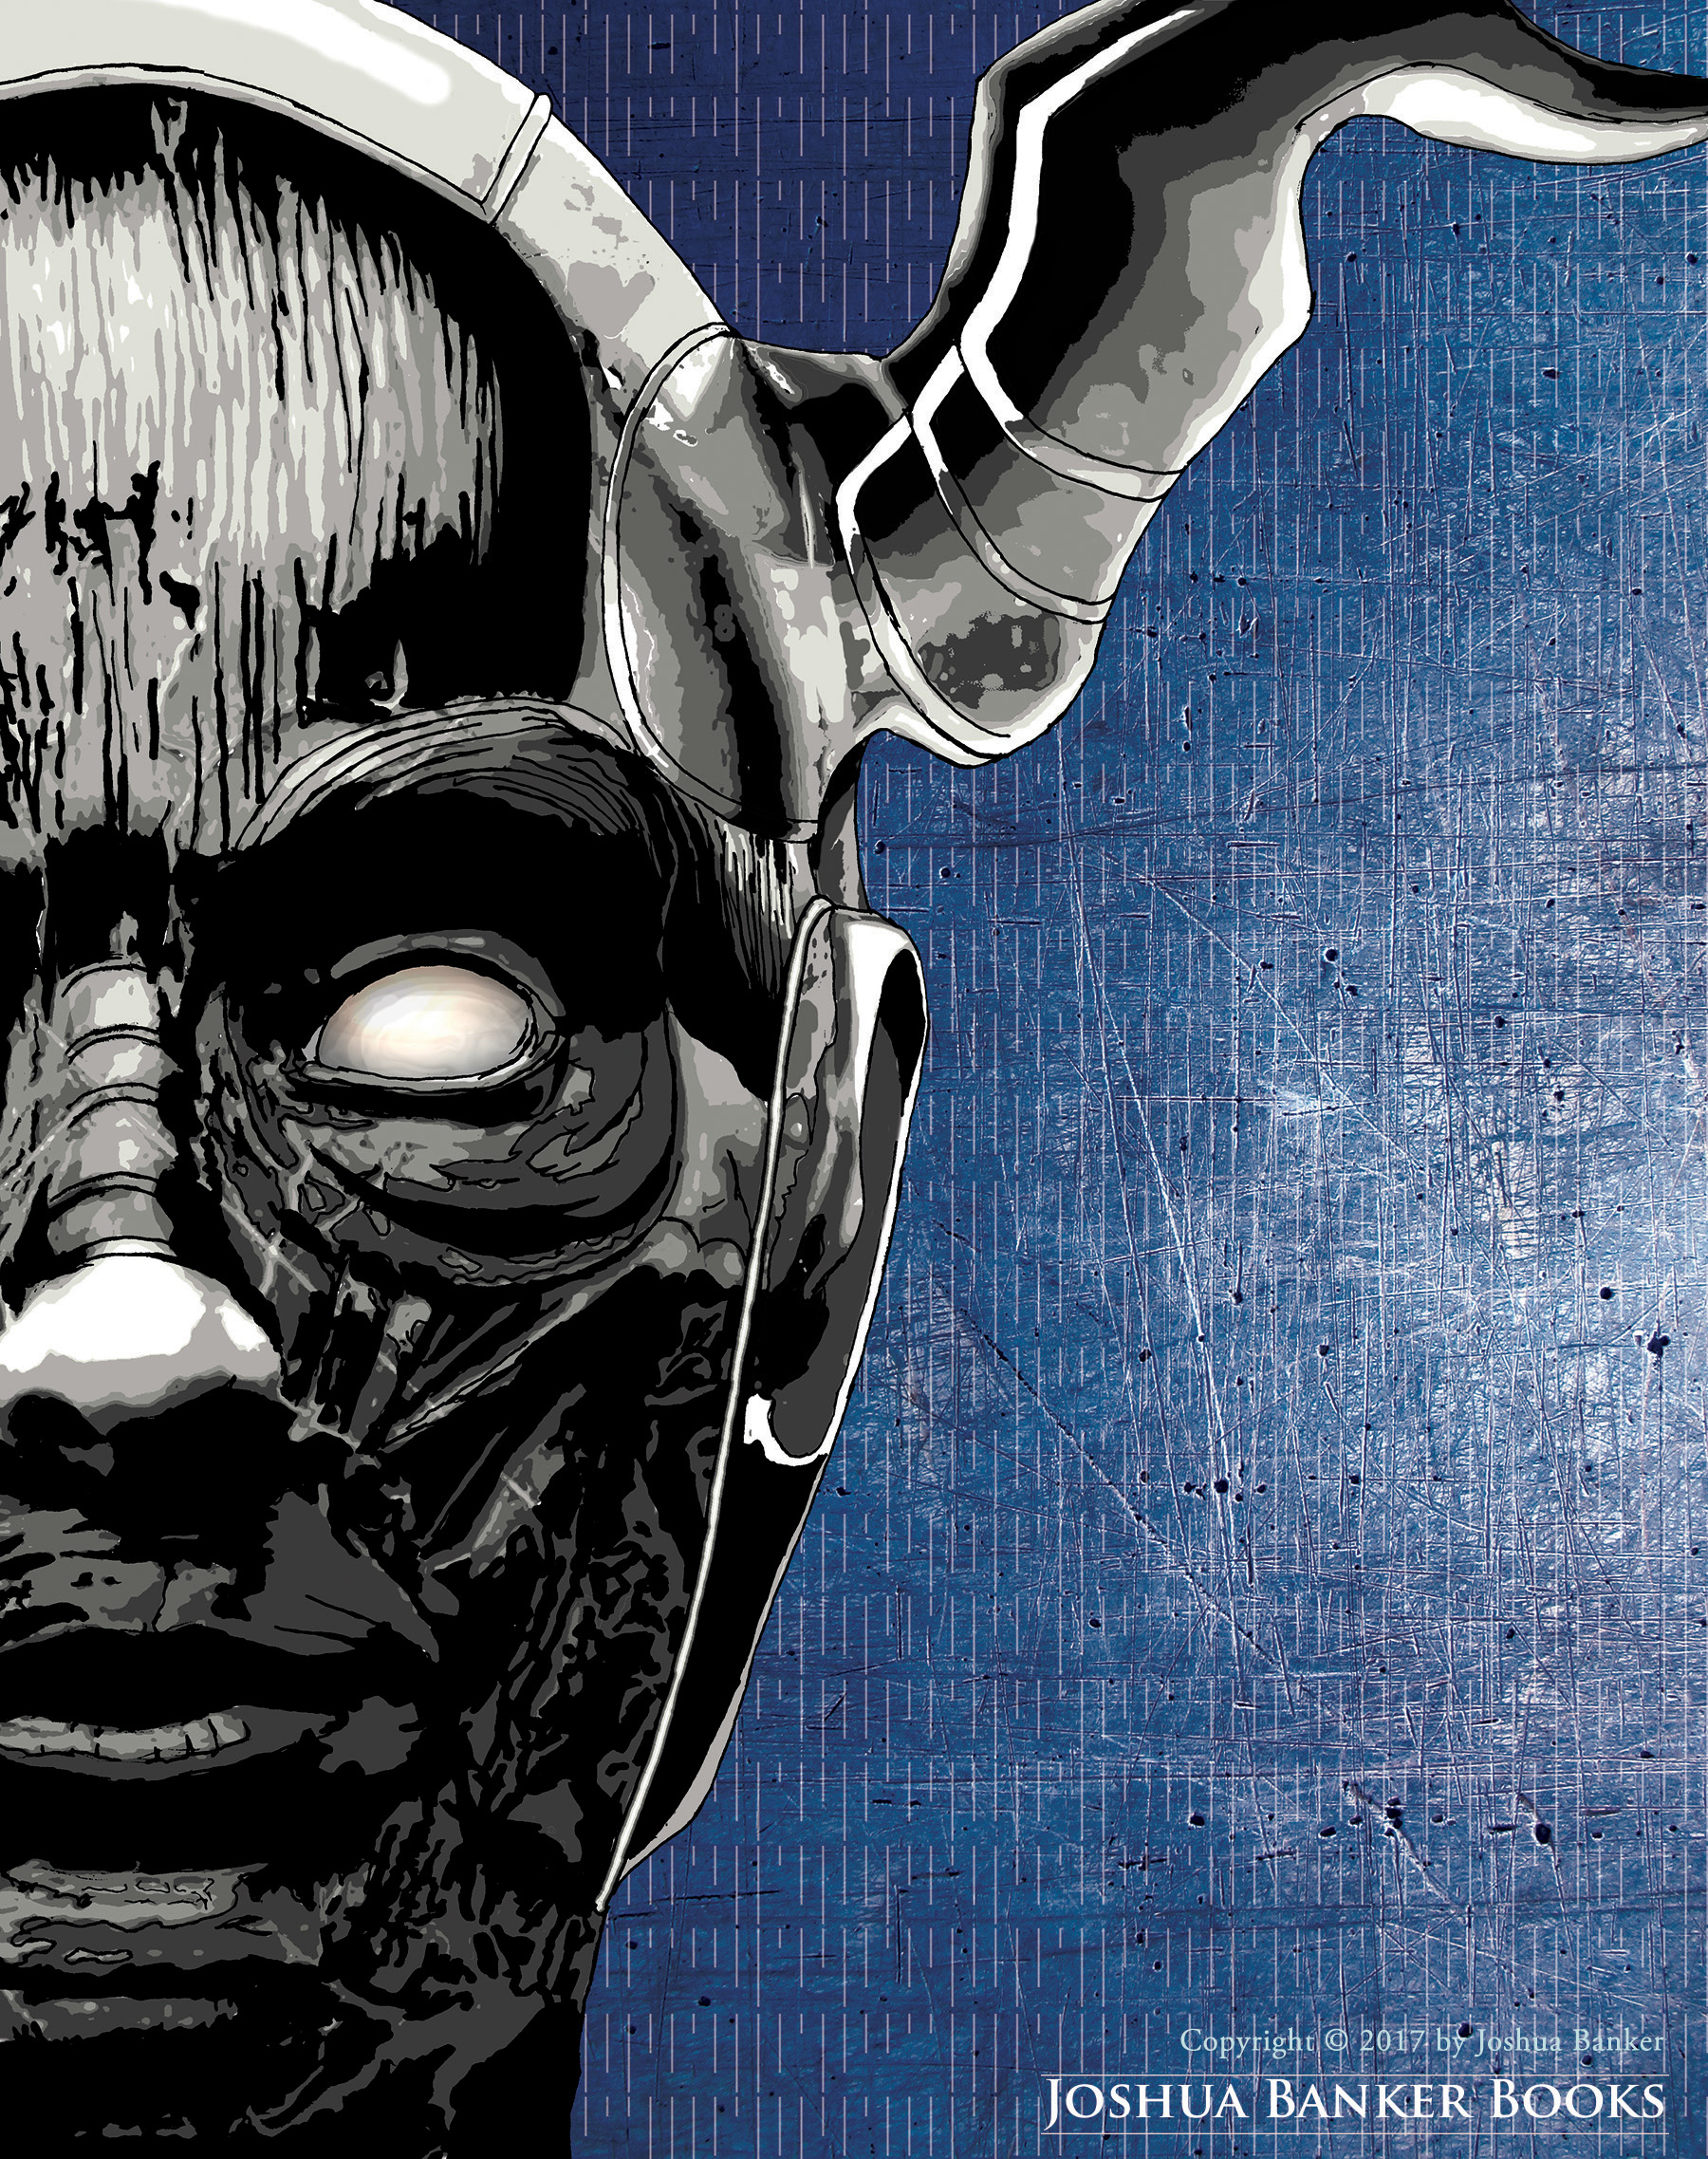
Gallery
Below you will find various images (paintings/sketches) done for my projects.
Jump to: Realm of Tah’afajien Series | The Fifth Era of Man | Not Gods But Monsters
The Long and Dark
View fullsize
The Long and Dark Cover Painting
View fullsize
Chapter One - The Gape
View fullsize
Chapter Two - The Halls of Perpetual Arrival
View fullsize
Chapter Three - Lord’s Chapel at Burngwent
View fullsize
Chapter Three - Lord’s Chapel at Burngwent (alt)
View fullsize
Chapter Four - An Unexpected Revisiting
View fullsize
Chapter Five - Naze
View fullsize
Chapter Six - The Sigil Gate
View fullsize
Chapter Seven - The Grand College of Amaru-ma-mudu FINAL
View fullsize
Chapter Seven - The Grand College of Amaru-ma-mudu Original
View fullsize
Chapter Eight - Golyat’s Ascent
View fullsize
Chapter Nine - The Sanatorium at Lyceed’s Asylum ORIGINAL
View fullsize
Chapter Nine - The Sanatorium at Lyceed’s Asylum FINAL
View fullsize
Gareth leaving Upelstbohr
View fullsize
Approaching the Aurul Halls
View fullsize
Chapter Ten - Akaluma’elusepsu
View fullsize
Chapter Eleven - The Governess in Blue
View fullsize
Chapter Twelve - The Aurul Halls
View fullsize
Chapter Thirteen - Elgretamon Original
View fullsize
Chapter Thirteen - Elgretamon Final
View fullsize
Chapter Fourteen - The Coemeterium
View fullsize
Chapter Fifteen - Ancestral
View fullsize
Chapter Sixteen - The Begeondan
View fullsize
Chapter Seventeen - A Return
View fullsize
Concept Sketch - Sindex the Scavenging Weasel
View fullsize
Naze on the rooftops
Realm of Tah’afajien series
View fullsize
Map of Moa'rehnza
View fullsize
The Killing Kind Cover
View fullsize
Character Illustration: Marianus O'mas
View fullsize
Character Illustration: Zonda Carlbaho
View fullsize
Character Illustration: Callie Evans
View fullsize
haracter Illustration: Carolus Res Ceosan
View fullsize
Character Sketch: Artis Gohn
View fullsize
Map of the Great Sea
View fullsize
A Prison of Flesh Cover
View fullsize
Sketch - Figurehead of the Aergaeu
View fullsize
Sketch: The Cahimierha
View fullsize
Concept - Byraelian Tiled Mural
View fullsize
Character Illustration: Corella Seawise
View fullsize
Character Illustration: Charles Brigant
View fullsize
Jehn Brumal
View fullsize
Hollistier Thabies
View fullsize
Sketch: Stone Monarch (line)
View fullsize
Sketch: Stone Monarch
View fullsize
Digital Sketch: The Black Children of Eusen Sinie
View fullsize
The World's Eye Cover
The Fifth Era of Man
View fullsize
Semanifesture - Activate
View fullsize
Semanifesture - Admittance
View fullsize
Semanifesture - Conflict
View fullsize
Semanifesture - Defense
View fullsize
Semanifesture - Empower
View fullsize
Semanifesture - Tracking
View fullsize
The FIfth Era of Man Illustration
View fullsize
The FIfth Era of Man Illustration Full Color
View fullsize
The FIfth Era of Man Illustration Colored
View fullsize
Fifth Era Map (Original)
View fullsize
Fifth Era Map (Final)
View fullsize
Raw Sketch: Ala’ydin Golem
View fullsize
Raw Sketch: Apello's Khukuri
View fullsize
Raw Sketch: Masina
View fullsize
Raw Sketch: The Helmet of Raxus
View fullsize
Raw Sketch: Cal's Revolver
View fullsize
Character Sketch: Oebe Nsu-Ogette
View fullsize
Digital Sketch: Natx Hollow
Categories
Not Gods But Monsters
View fullsize
Not Gods But Monsters Cover
View fullsize
Raw Sketch: Motorcraft
View fullsize
Raw Sketch: Palicosta
View fullsize
Byraelian Script Sample
View fullsize
Map of Verenigen and Tir
View fullsize
Stairwell Interior (sketch)
View fullsize
Stairwell exterior
View fullsize
Raw Sketch: Stagecoach
View fullsize
Raw Sketch: Hovercraft
View fullsize
Stairwell Interior
View fullsize
The Jaunty Dame Sign
View fullsize
Streets of Trone Stenan
View fullsize
Raw Sketch: Dyson
View fullsize
Raw Sketch: Evisran Library at Kit'abana
View fullsize
Character Illustration: Flynn Earrele
View fullsize
Raw Sketch: Flynn
View fullsize
Character Illustration: Zoe Agilis
View fullsize
Character Illustration: Callie Evans
View fullsize
Character Illustration: Kyote Kurttsen
View fullsize
Character Illustration: Jehn Brumal
View fullsize
Unused Flynn drawing
View fullsize
Unused Jehn drawing
View fullsize
Character Sketch: Zane Grymore
View fullsize
Character Illustration: Jehn (Fantasma)
View fullsize
Character Illustration: Zoe (Fantasma)
View fullsize
Character Illustration: Flynn (Fantasma)
View fullsize
O'mas and Jehn Leaving the Vale (unfinished) (Fantasma)